
CNC Harbor Freight Mini-Mill
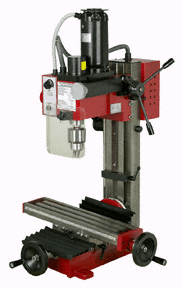
The Harbor Freight mini mill has been the backbone of my shop and business for the past two years. These little machines, while maybe not seen as a "quality" machine, really are worth their money. I've had nothing but good luck with mine and have always been pleased with it's ability and performance, and when the time comes when this one reaches the end of it's life I will either repair or replace it.
However because of the amount of time that I've spent on mine as well as the volume of work that I was seeing prior to the conversion of the machine, it became apparent that a conversion to cnc would not only be a handy thing, but could also help tremendously with the business. So I decided back around Christmas to take the plunge and convert the machine to cnc. After searching the web for information I finally settled on the conversion as done by www.hossmachine.info
I highly recommend the website as the owner is not only a great person to deal with but a very accomplished machinist. I bought the material kit from Hoss, as well as the dvd's, and leadscrews. If you're going to do this conversion I would highly recommend that you consider Hoss Machine, I think the high quality of the finished parts he sells as well as the very fast shipping are a good indicator of the type of person he is.
On with the pictures . . .
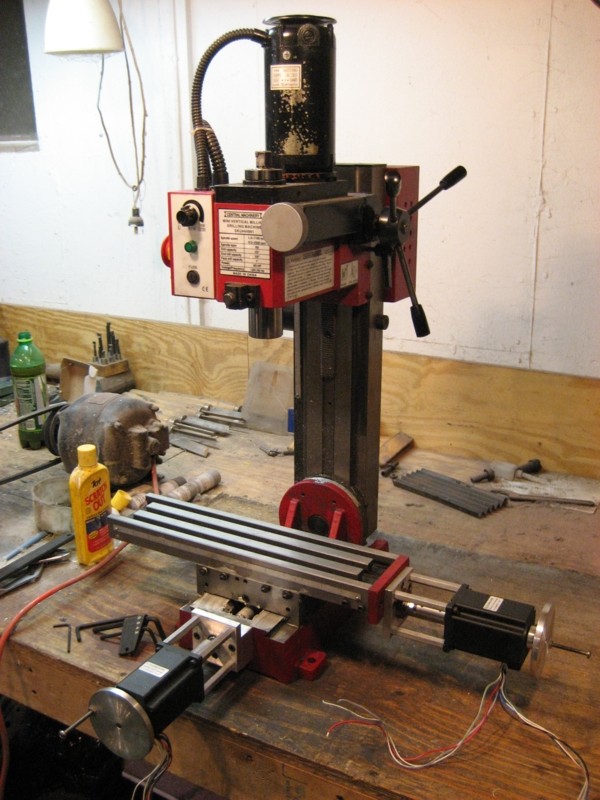
Here is my mill during the conversion. Here you can see the X and Y axis after they have been modified with the ball screws, nuts, and motors.

Coming along nicely. You can see that I've added the Z axis drive and lead screw here. The actual conversion process isn't really all that difficult once you have the parts made. I opted to machine all of the parts for my conversion before actually starting the process. This way it was more like assembling a kit than having to make the parts as I went. This also saved time as the actual process of converting the mill over to cnc only took me about 3 days of work. I would highly recommend a good set of transfer punches if you don't already have a set. hahaha
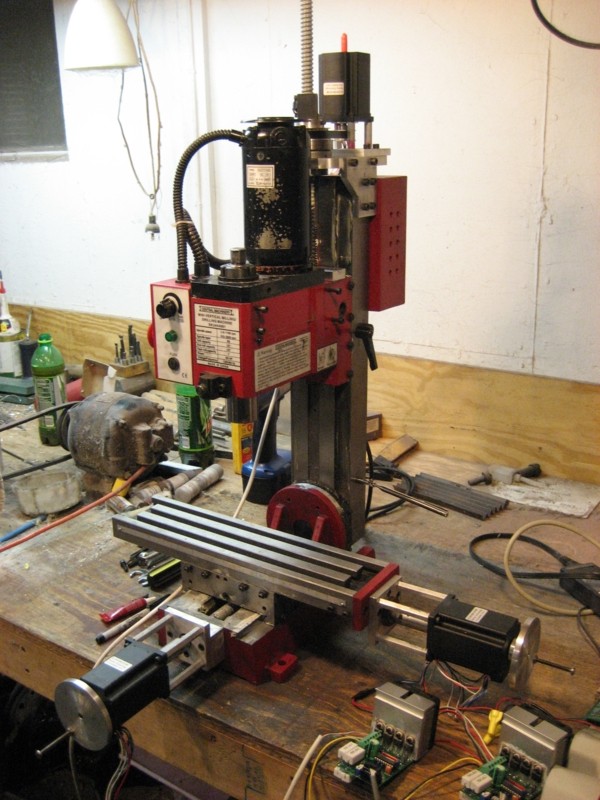
Another shot after the installation of the Z axis drive components. I opted to remove the rack and pinion lever from my machine. Since it really doesn't have much use now, and since it can be reinstalled relatively easily, I just went ahead and removed it.
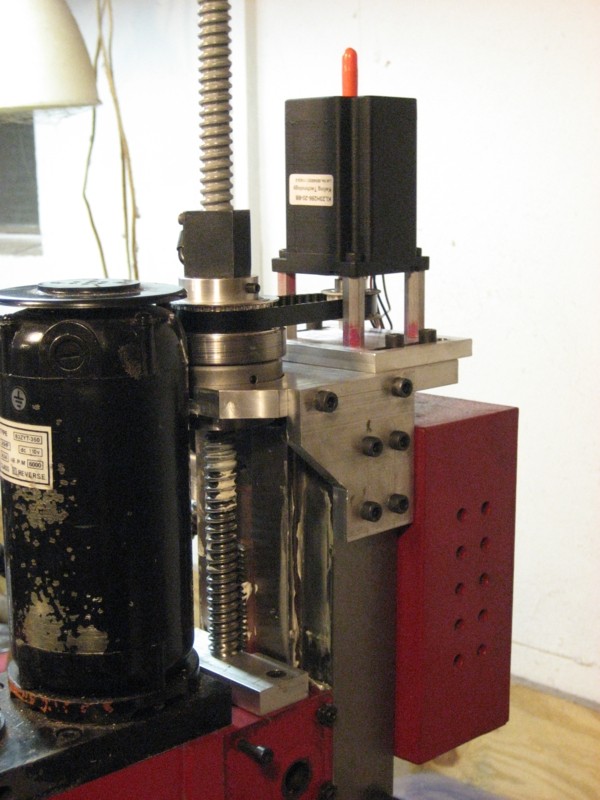
This a closer view of the Z axis drive components. I need to go back and machine a bit off of the main steel assembly that the lead screw passes through, there's a bit of a clearance issue between that and the motor as it passes by on the way up, but a very simple matter.
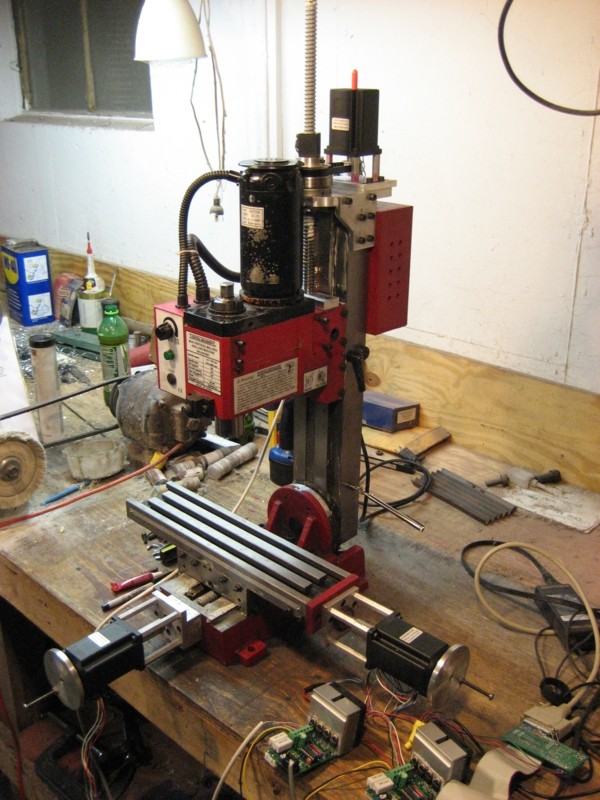
Another shot of the machine with all the conversion parts installed. In the lower right hand corner you can see the driver boards that I'm using. These are Linistepper V2 boards that came as a kit. If you enjoy electronics I really recommend these kits as they are very well thought out, easy to assemble, inexpensive, and open source. However they really aren't intended for larger motors. I added two 1 ohm 5 watt resistors in parallel with the two sense resistors to increase the current to the motors since I'm using larger motors. Their performance is a bit limited, but for the cost of the drivers compared to commercial drivers, I think it was a fair trade off. I would like to say a big thanks to James at Piclist for all his time and help working out some issues with the specific application I was working on. He took a lot of time to answer a lot of questions and help me identify some problems that I was having.
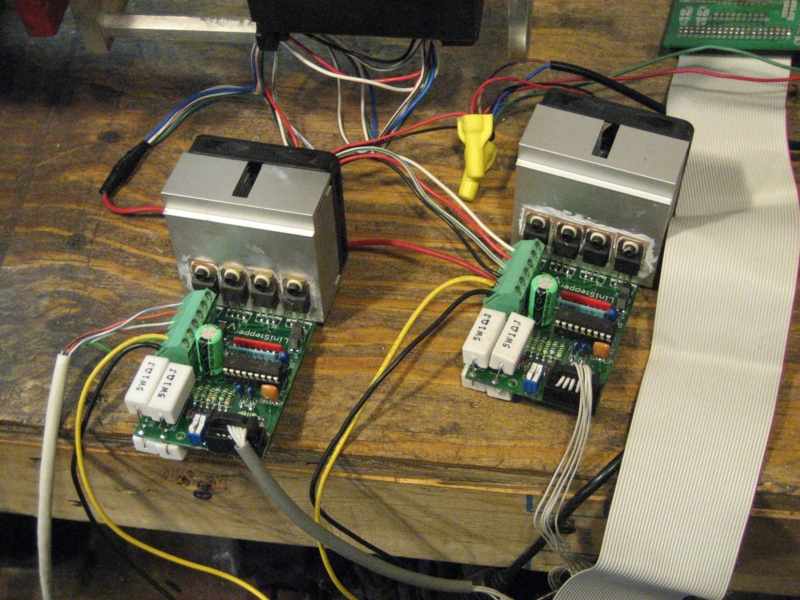
Two of the Linistepper V2 boards.
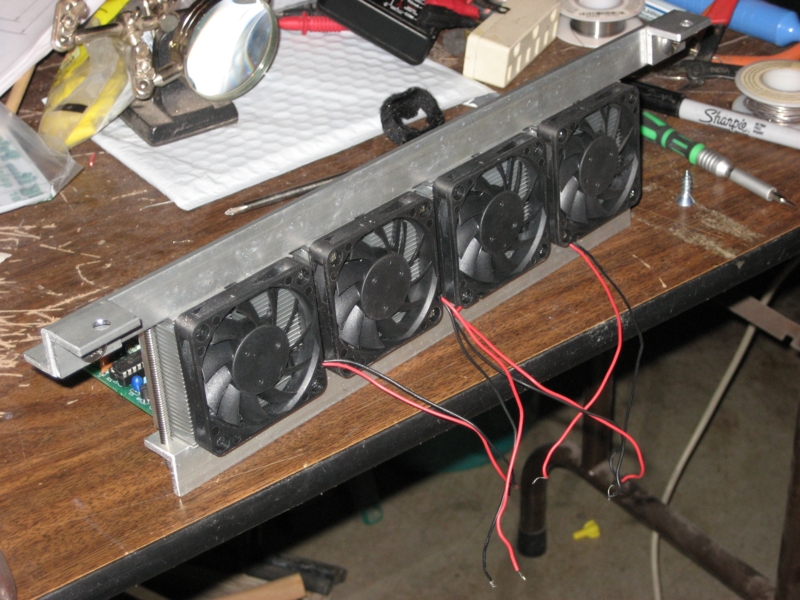
To mount the driver boards since I didn't have another enclosure, I decided to mount them in a "rack" of sorts. This simple setup allows for very quick and easy access to the boards and allows me to just mount them on the underside of my workbench.
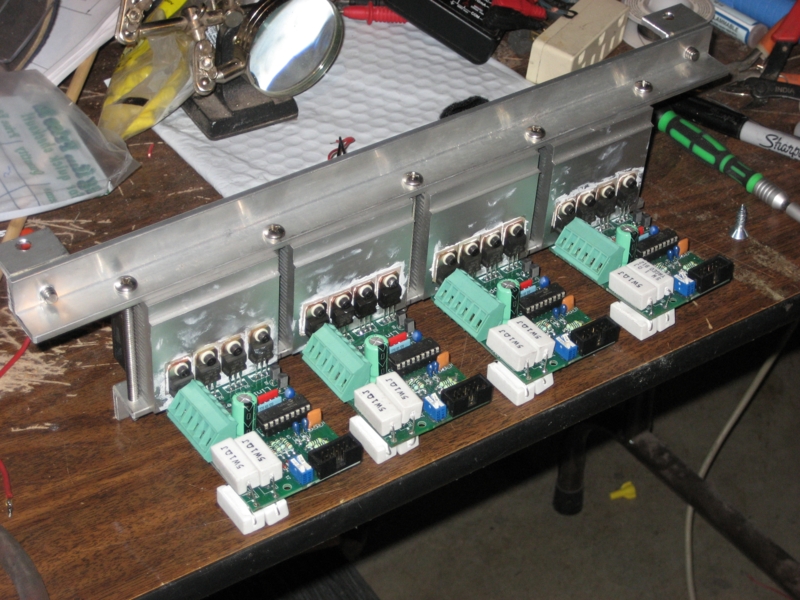
Another shot of the driver boards in the rack showing them from the back.
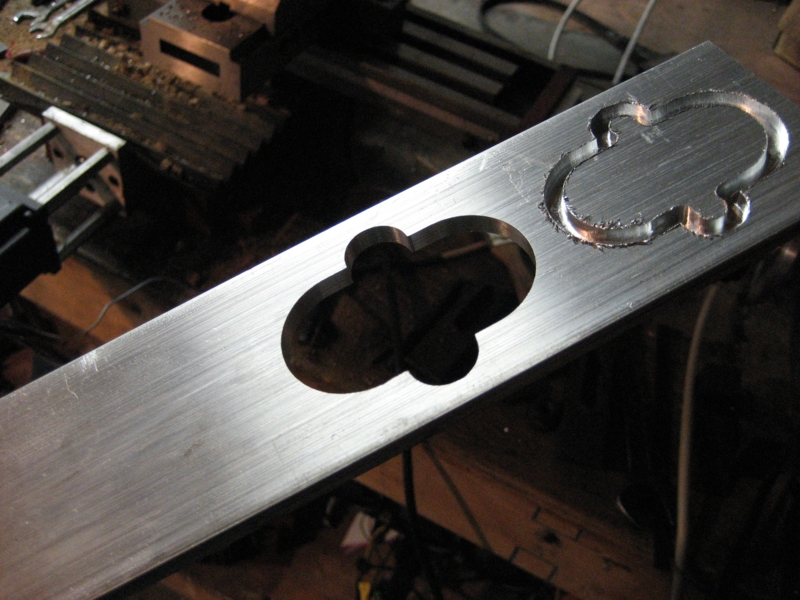
And here is a shot of the very first cuts made using the converted mill. The shape to the right wasn't cut out because I forgot to set the pulley ratio in the program for the Z axis before testing it out, so the travel distance was off. hahaha
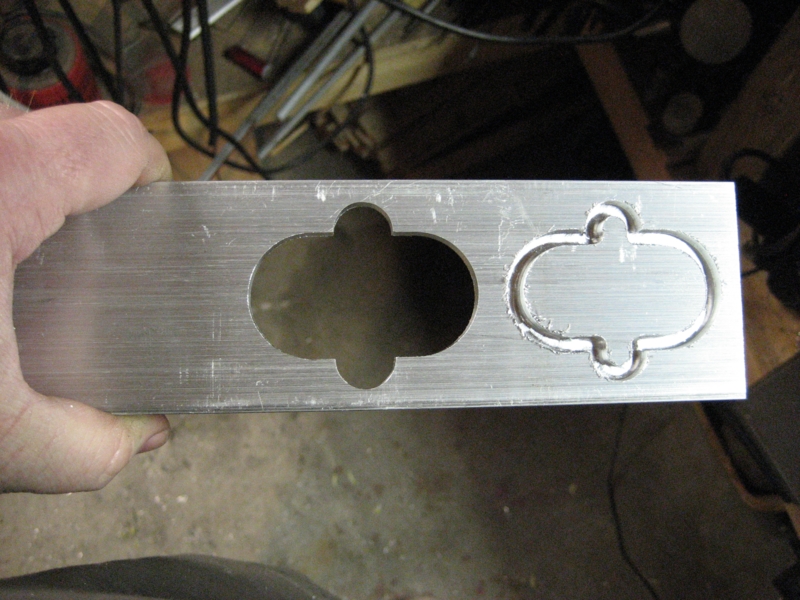
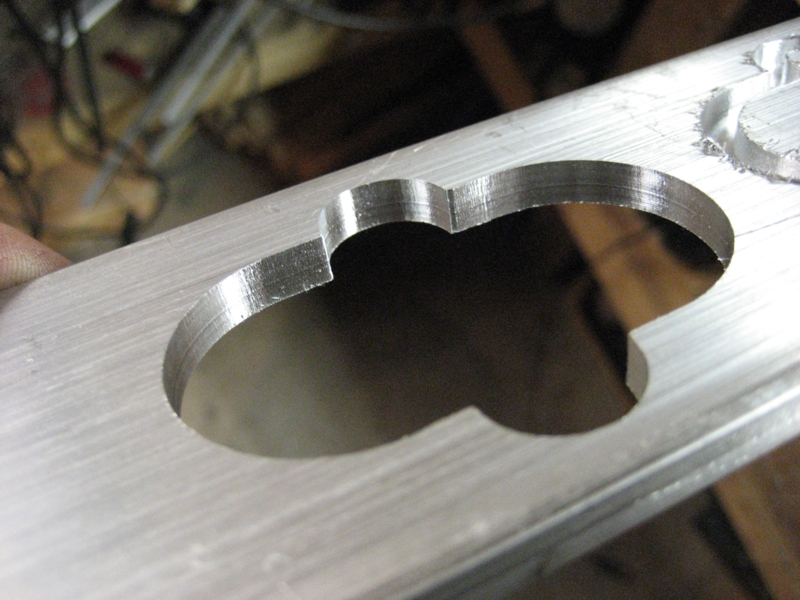
I'm really thrilled with the quality of work that the little machine is putting out under computer control, and the speed at which it does it. This pattern was cut in a piece of 1/4" aluminum with an 11/64" endmill, turning at about 1200 rpm and cutting .050" deep per pass. Now it's time to get back to work, clean the shop up, and start the process of redrawing many of my parts for machining on the new cnc station. More to come later.